Configure Redis Object Cache for WordPress
January 19, 2022
Redis is an open-source application, and it helps to store in-memory data structures, its is used as databases for object caching. Since Redis stores its data in memory, it is most commonly used as a cache. In this article, I’m going to explain how you can configure Redis Object Cache for WordPress to get maximum performance and speed. Before installing getting started, you should already have install Ubuntu on your instance.
Install Redis on Ubuntu 18.04 and 20.04
Before installing the Redis server on Ubuntu, you have to update the system and all the dependencies and then upgrade with the newer updates. So, use the following commands.
sudo apt update && apt upgrade
Redis can be installed in Ubuntu using the following command.
sudo apt install redis-server
Redis server can be used without modification with the default configuration file. But using Redis as a cache, you have to modify some parameters in the default configuration file, which is located in /etc/redis/redis.conf. Edit the configuration file using any text editor or run the following command to edit on the terminal.
sudo nano /etc/redis/redis.conf
Now, you have to find #maxmemory and replace it with the following value.
maxmemory 128mb

maxmemory-policy allkeys-lru
You can change the memory value as you want (56 MB, 128MB, or 256MB). If you are installing Redis for your web apps or website, then choose the memory values as per your web traffic. Now save the configuration file (CTRL+X and Y ↵) and restart the Redis services using the following command.
sudo systemctl restart redis-server.service
Installing PHP Redis Extension
If you want to use PHP-based applications with the Redis server, you should install the PHP Redis extension using the following command. Before installing the module, you should already install PHP in the system.
sudo apt-get install php-redis
Obtain Redis Cache Backend Script
This PHP script for WordPress was originally developed by Eric Mann. It is a Redis object cache backend for WordPress.
Download the object-cache.php script. This download is from DigitalOcean’s asset server, but this is a third-party script. You should read the comments in the script to see how it works.
Download the PHP script:
wget https://assets.digitalocean.com/articles/wordpress_redis/object-cache.php
Move the file to the /wp-content directory of your WordPress installation:
sudo mv object-cache.php /var/www/html/wp-content/
Depending on your WordPress installation, your location may be different.
Enable Cache Settings in wp-config.php
Next, edit the wp-config.php file to add a cache key salt with the name of your site (or any string you would like).
nano /var/www/html/wp-config.php
Add this line at the end of the * Authentication Unique Keys and Salts. section:
define('WP_CACHE_KEY_SALT', 'example.com');
You can use your domain name or another string as the salt.
Also, add the following line after the WP_CACHE_KEY_SALT line to create a persistent cache with the Redis object cache plugin:
define('WP_CACHE', true);
Save and close using the CTRL + X combination, then press Y and confirm by pressing ENTER.
Restart Redis and Apache/Nginx
Finally, restart redis-service and apache2/nginx.
Restart Redis:
sudo service redis-server restart
If your using Apache your get to restart Apache:
sudo systemctl restart apache2
If your using Nginx your get to restart Nginx:
sudo systemctl restart nginx
Install Object Caching Plugin
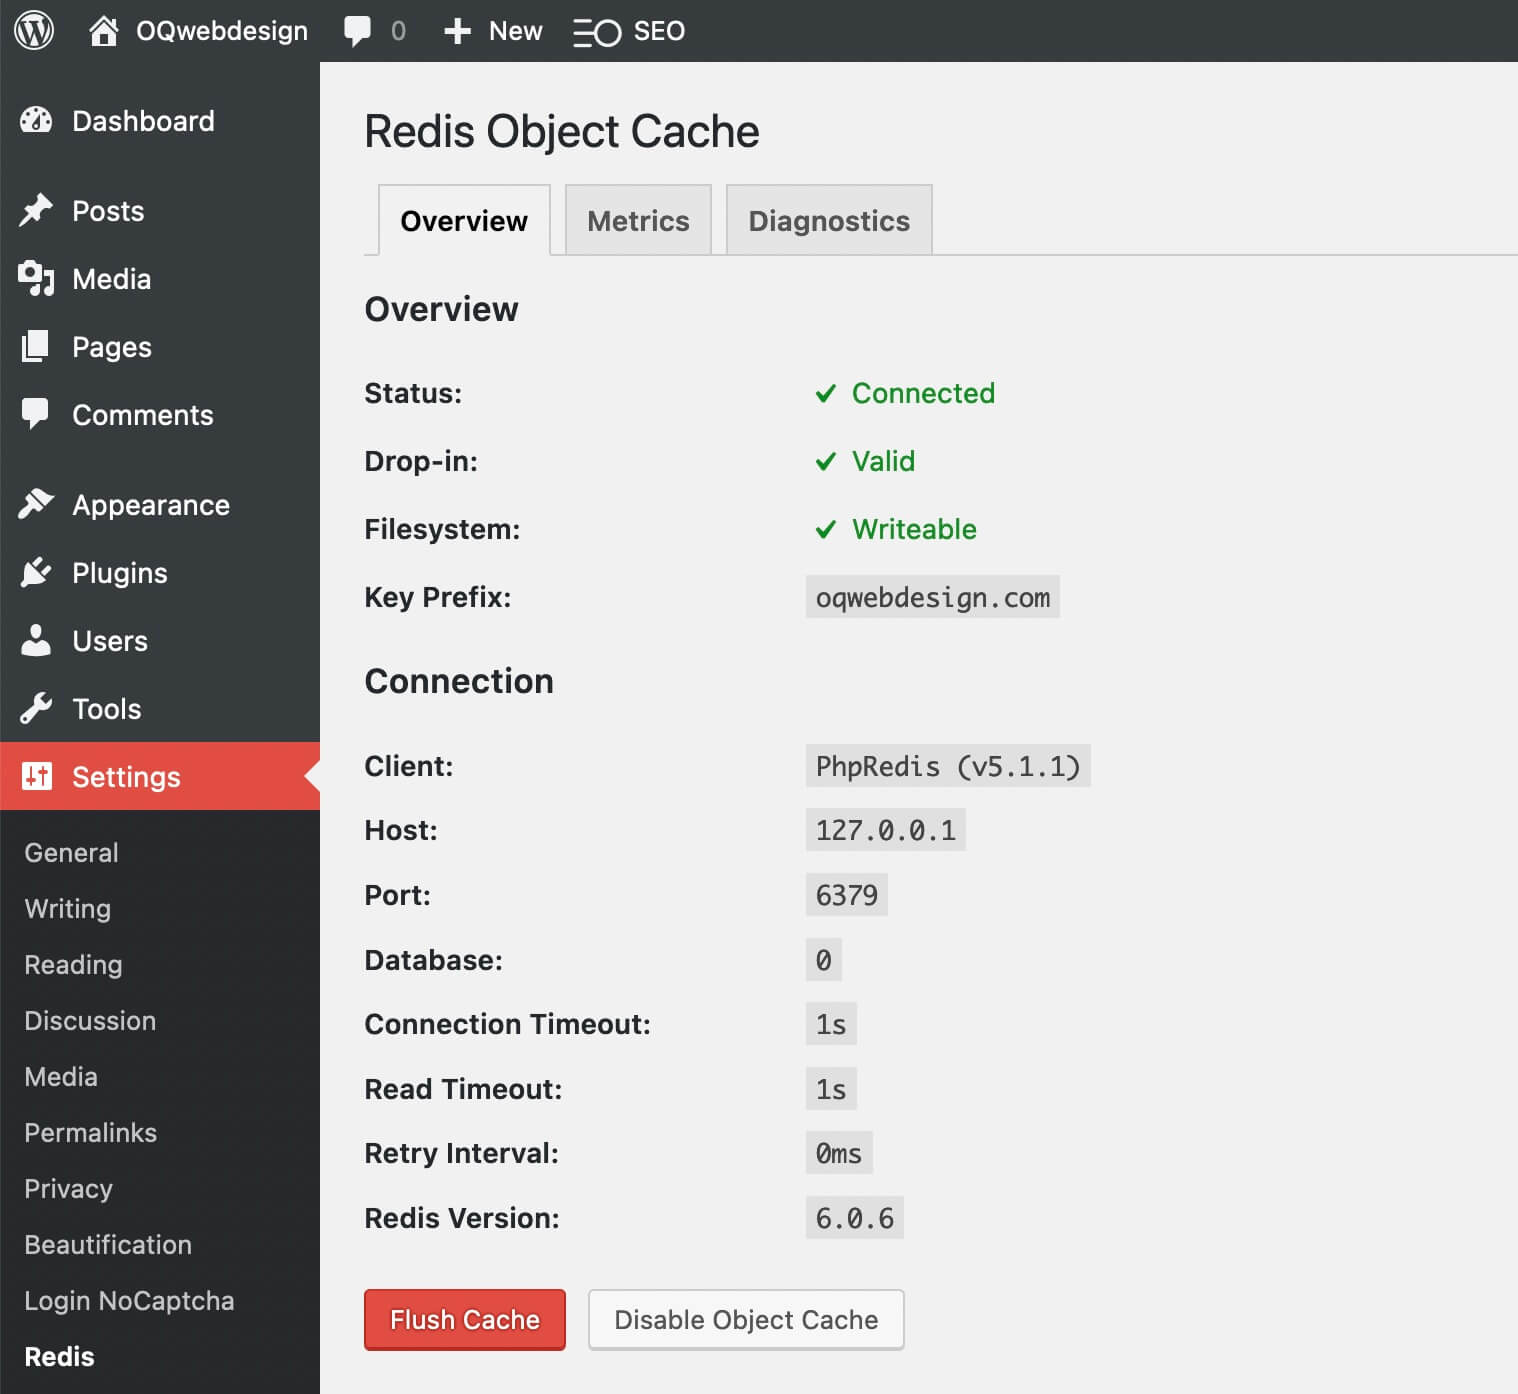
There are multiple plugins, and you can use one of them. The most popular plugin is “Redis Object Cache” for performance needs to be installed and activated, no need for further configuration.

Configure Redis Object Cache for WordPress