Easy way to setup a local HTTP Server on macOS
February 1, 2023
As web developer there are time we want a simple solution to run a local web server without FTPing files to a web server or installing and running an application like MAMP.
For PHP Developer
I found a simple way to launch a PHP/HTML files on macOS using its in-built PHP server. This may not be a solution for someone to develop and debug PHP websites. But, it will help you to check basic PHP websites and web pages. In case you don’t have PHP install on your Mac via Homebrew, here is an article that explain the installation process of PHP via Homebrew.
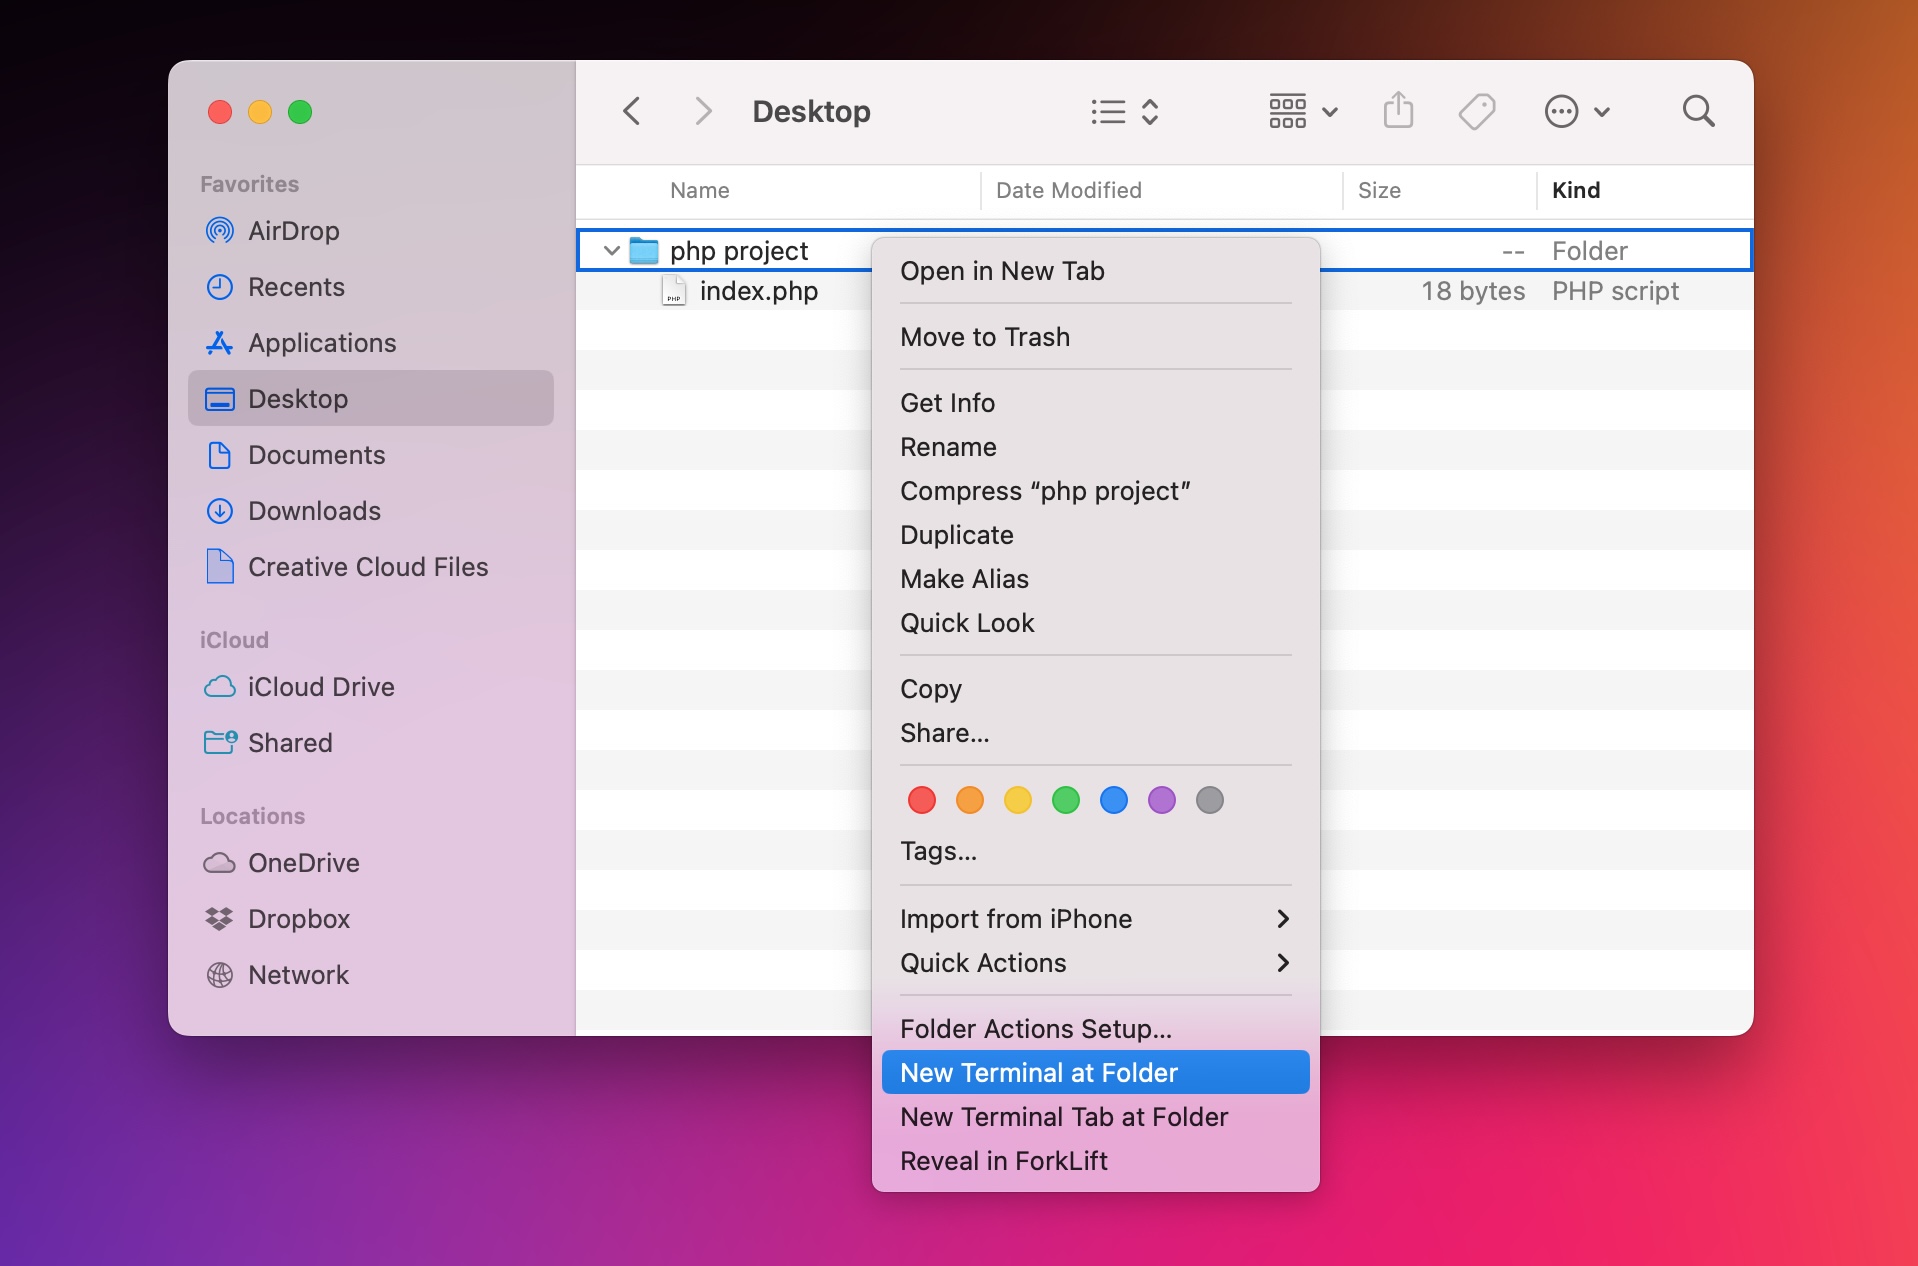
In the finder, go to the folder with the php website code. Right click the folder. From the popup menu, select the option New Terminal at Folder to launch the terminal window for the folder that contain or will contain your php files.
In the terminal window run the command php -S localhost:8000. The server starts listening to http://localhost:8000. Just leave the terminal window without disturbing it. Once you close the terminal, the server will stop running.
oqwebdesign@iMac php project % php -S localhost:8000
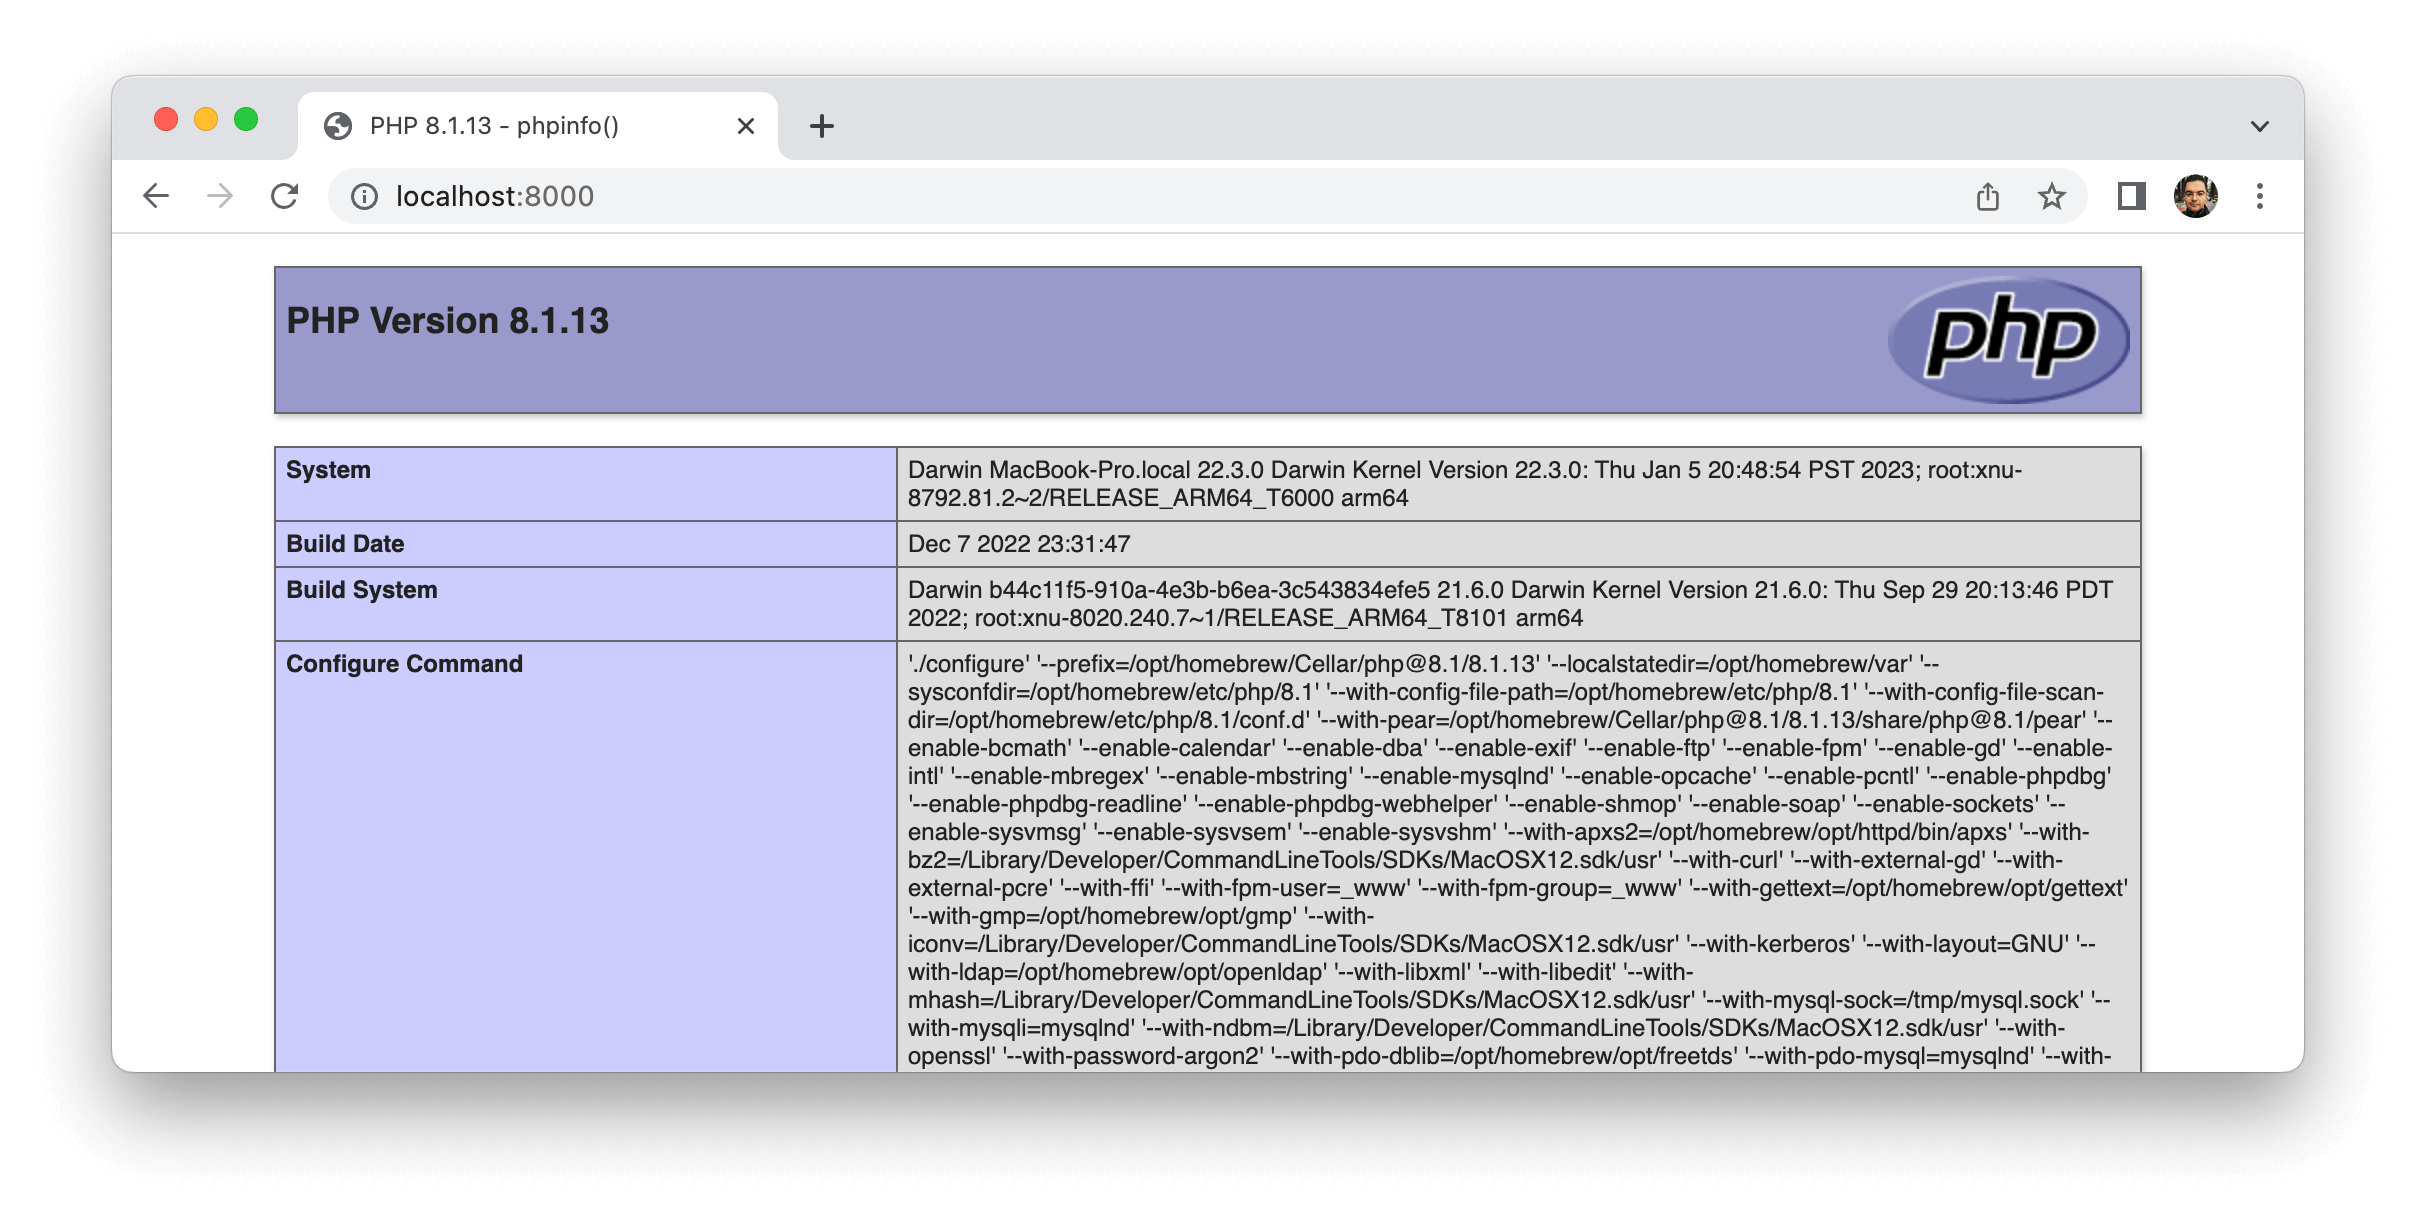
Now, go to any browser and run the address http://localhost:8000/. If the folder has an index.php file, then it will load the webpage. Else, you have to add the webpage name to the url like http://localhost:8000/file-name.php.
To shutting down PHP’s built-in development server go back to the terminal window and press Ctrl + C buttons as this will shut down the PHP’s built-in development server. Then you can quit the terminal.
That should do it!