How To Install Apache HTTP Server on Debian 11
May 18, 2022
Introduction
Apache HTTP Server is a free and open-source web server that is most widely used in the world with more than 50% share in the commercial web server market. It was revealed that the name originated from the respect of the Native American tribe for its resiliency and durability.
Update Software Repositories
It is important to refresh the repository lists before installing new software. This helps make sure that the latest updates and patches are installed.
First, update the Debian 11 system’s cache repository by opening a terminal window and typing the command provided below:
sudo apt update && sudo apt upgrade -y
Then, install the apache2 package
sudo apt install apache2
After entering this command, apt will tell you which packages it plans to install and how much disk space they’ll take up. Press Y and hit ENTER to confirm, and the installation will proceed.
Configure the Firewall Settings
Depending on your system, if it has a firewall then you need to access some ports so that an external person or a user can utilize those ports. We will allow port 80 and port 443 which are for HTTP and HTTPS respectively. If the UFW firewall is running on your system, you will need to allow certain web ports so that external users can access it. If you doing a fresh install you will need to install UFW firewall by typing the following command:
sudo apt install ufw
Before you get to enable UFW firewall, you need to allow SSH access. Becasue if we don’t you will lock yourself out of the server. You need to type in the following command:
sudo ufw allow 'OpenSSH'

sudo ufw enable

ufw status
If UFW is running the following output will display in the terminal:
Status: active

To             Action   From
--             ------   ----
OpenSSH          ALLOW    Anywhere
OpenSSH (v6)     ALLOW    Anywhere (v6)
As the firewall is currently blocking all connections except for SSH, you will need to adjust the firewall settings to allow acceptable web traffic in for port 80 and 443. For that, run the following commands in terminal:
sudo ufw allow 'WWW Full'

ufw status
Then you should get the following output from the terminal, as a successful configuration that allow acceptable web traffic in for port 80 and 443.
Status: active

To             Action   From
--             ------   ----
OpenSSH          ALLOW    Anywhere
WWW Full         ALLOW    Anywhere
OpenSSH (v6)     ALLOW    Anywhere (v6)
WWW Full         ALLOW    Anywhere (v6)
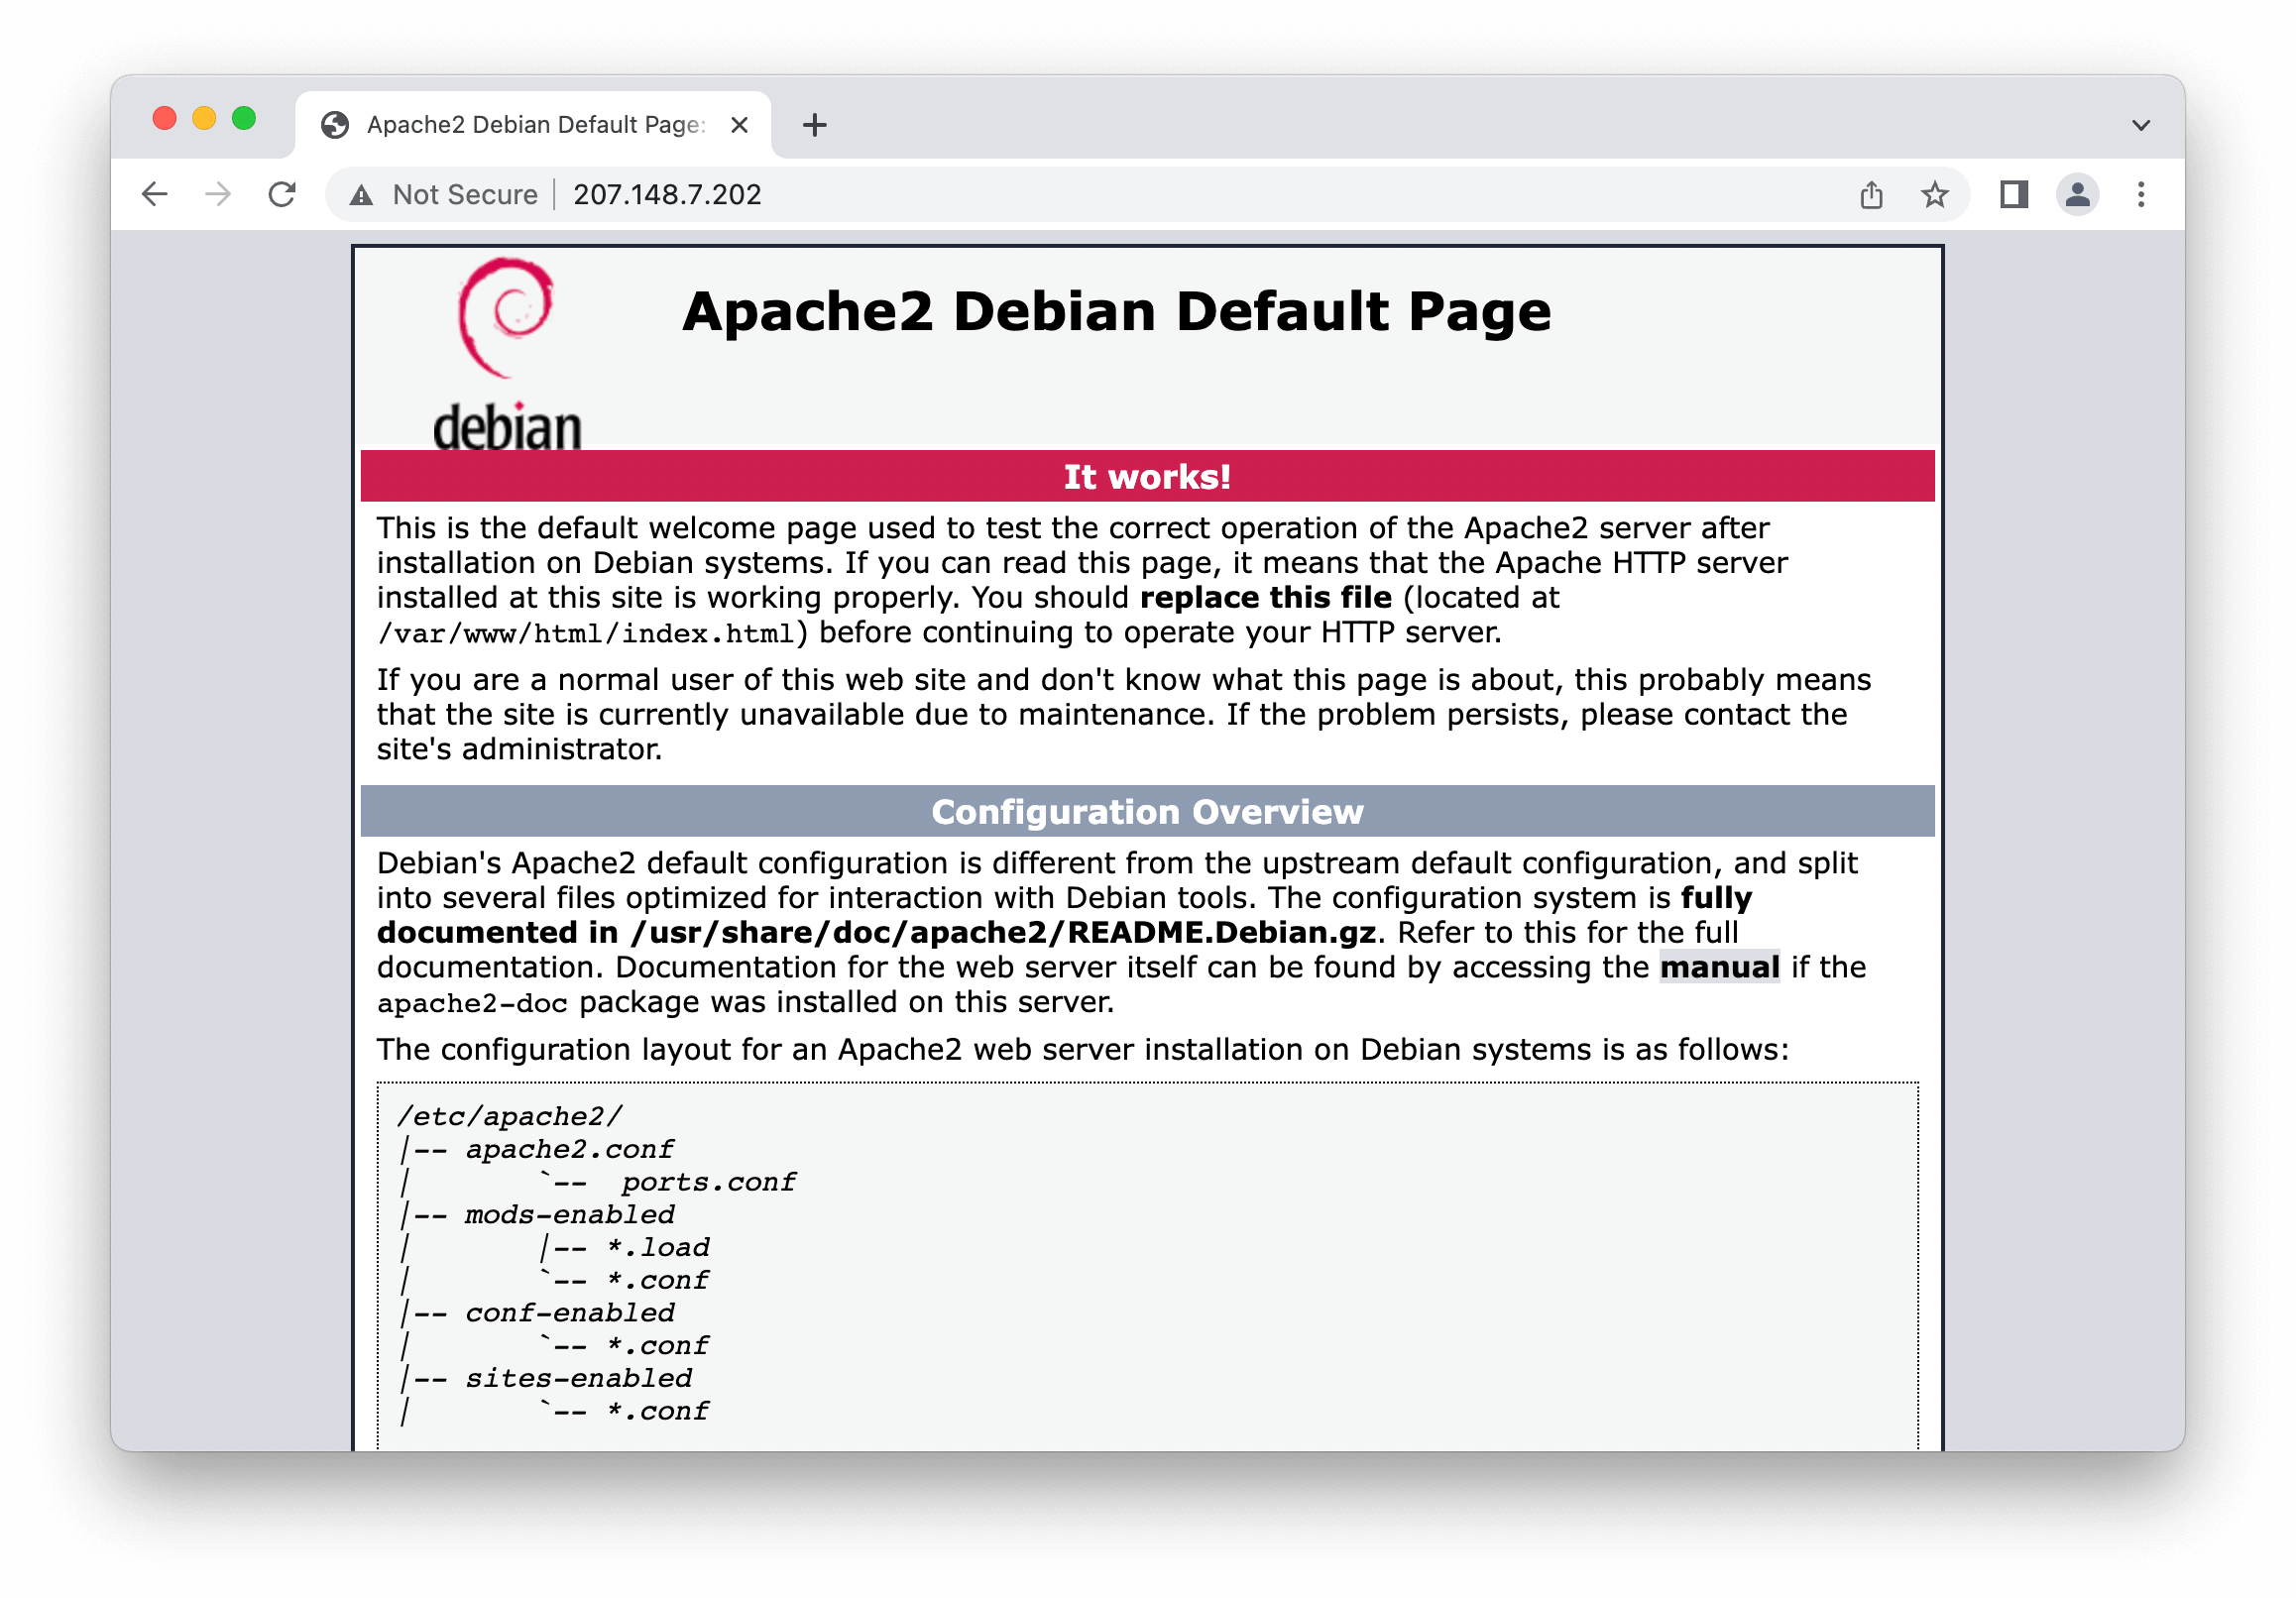
To verify that Apache was installed correctly, open a web browser and type in the address bar http://server_ip_address.
If you do not know your server’s IP address, you can get it from the command line which should give you your public IP address as read from another location on the internet.
curl -4 icanhazip.com
After opening this URL you should see the default Debian 11 Apache web page as shown on the image below
Enabling mod_rewrite
In order for Apache to understand rewrite rules, we first need to activate mod_rewrite. It’s already installed, but it’s disabled on a default Apache installation. Use the a2enmod command to enable the module:
sudo a2enmod rewrite
Then restart the Apache HTTP server with service command with sudo:
sudo systemctl restart apache2
Before we proceed, to allow the usage of the .htaccess file, enable AllowOverride by making changes in the configuration of the Apache HTTP server with the help of nano editor.
sudo nano /etc/apache2/apache2.conf
Find the following section in /etc/apache2/apache2.conf
<Directory /var/www/>
    Options Indexes FollowSymLinks
    AllowOverride None
    Require all granted
</Directory80>
and change, from AllowOverride None to AllowOverride All
<Directory /var/www/>
    Options Indexes FollowSymLinks
    AllowOverride All
    Require all granted
</Directory80>
Save and close using the CTRL + X combination, then press Y and confirm by pressing ENTER. Then, restart the Apache HTTP server to apply the configuration by executing, from this point your should be able to create a .htaccess file in the root directory of your website.
sudo systemctl restart apache2
Enabling mod_rewrite
A useful Apache module that allows you to control and modify HTTP request and response headers in Apache. If you want to install Apache module such as mod_headers, you need to issue the a2enmod command
Run the following command.
sudo a2enmod headers
Restart Apache web server to apply changes with the sudo command:
sudo systemctl restart apache2
Enabling headers expires
This module allows the apache web server to set HTTP headers, in this case, to set the modification header for static assets like image and CSS files that don’t change often.
Run the following command.
sudo a2enmod headers expires
Add the following config snippet inside the vhost file of the web site or at the end of the file /etc/apache2/apache2.conf to enable it globally.
<FilesMatch ".(ico|pdf|flv|jpg|jpeg|png|gif|js|css|swf)$">
    Header set Cache-Control "max-age=3024000, public"
</FilesMatch80>
Restart Apache web server to apply changes with the sudo command:
sudo systemctl restart apache2
Setting up the Virtual Host Configuration File
There will be a cases that you may want to host multiple websites on your Apache web server.
First create the directory for your_domain as follows:
sudo mkdir /var/www/your_domain
Next, assign ownership of the directory with the $USER environment variable:
sudo chown -R $USER:$USER /var/www/your_domain
Create a separate virtual host configuration file under the /etc/apache2/sites-available directory for each domain you intend to host on your server.
sudo nano /etc/apache2/sites-available/your_domain.conf
The nano is a text editor in Ubuntu that will allow you to create/edit your configuration file. Add the following code to create your configuration of your virtual host.
<VirtualHost *:80>
    ServerName your_domain
    ServerAlias www.your_domain
    ServerAdmin admin@your_domain
    DocumentRoot /var/www/your_domain/public_html
    ErrorLog ${APACHE_LOG_DIR}/error.log
    CustomLog ${APACHE_LOG_DIR}/access.log combined
</VirtualHost>
Save and close using the CTRL + X combination, then press Y and confirm by pressing ENTER.
Enable these host files by running the a2ensite command for each configuration file.
sudo a2ensite your_domain.conf
Disable the default virtual configuration file only if it’s not needed using the a2dissite command.
sudo a2dissite 000-default.conf
Restart Apache to load the new configuration files.
sudo systemctl restart apache2
Test for errors
Once all the configurations are completed, you can test for any configuration errors:
sudo apache2ctl configtest
You might receive the following error:
AH00558: apache2: Could not reliably determine the server's fully qualified domain name, using 127.0.1.1. Set the 'ServerName' directive globally to suppress this message

Syntax OK
In order to resolve this error, edit the servername.conf file:
sudo nano /etc/apache2/conf-available/servername.conf
Then add this line by replacing the info.net with your own domain name:
ServerName your_domain
Save and exit the servername.conf file and run:
sudo a2enconf servername

sudo systemctl restart apache2
Now again execute:
sudo apache2ctl configtest
This time, hopefully, you will not receive any error.
Syntax OK
Make sure you have a index.html file in your new virtual directory /var/www/your_domain/public_html. That’s your done and enjoy your new virtual host on your Apache web server.