How To Install Nginx on Ubuntu 20.04
February 7, 2022
Introduction
Nginx is a free, open-source Linux application for web servers. It works as a reverse proxy server by directing web traffic to specific servers. Nginx is used for security and load-balancing, but can also function independently as a web server.
Update Software Repositories
It is important to refresh the repository lists before installing new software. This helps make sure that the latest updates and patches are installed.
First, update the Ubuntu system’s cache repository by opening a terminal window and typing the command provided below:
sudo apt-get update && sudo apt-get upgrade -y
Then, install the nginx package
sudo apt-get install nginx -y
Allow Nginx Traffic
Nginx needs access through the system’s firewall. To do this, Nginx installs a set of profiles for the Ubuntu default ufw (UnComplicated Firewall).
Start by displaying the available Nginx profiles:
sudo ufw app list
You should get a listing of the application profiles:
Available applications:
  Nginx Full
  Nginx HTTP
  Nginx HTTPS
  OpenSSH
To grant Nginx access through the default Ubuntu firewall, enter the following:
sudo ufw allow 'Nginx Full'
Refresh the firewall settings by entering:
sudo ufw reload
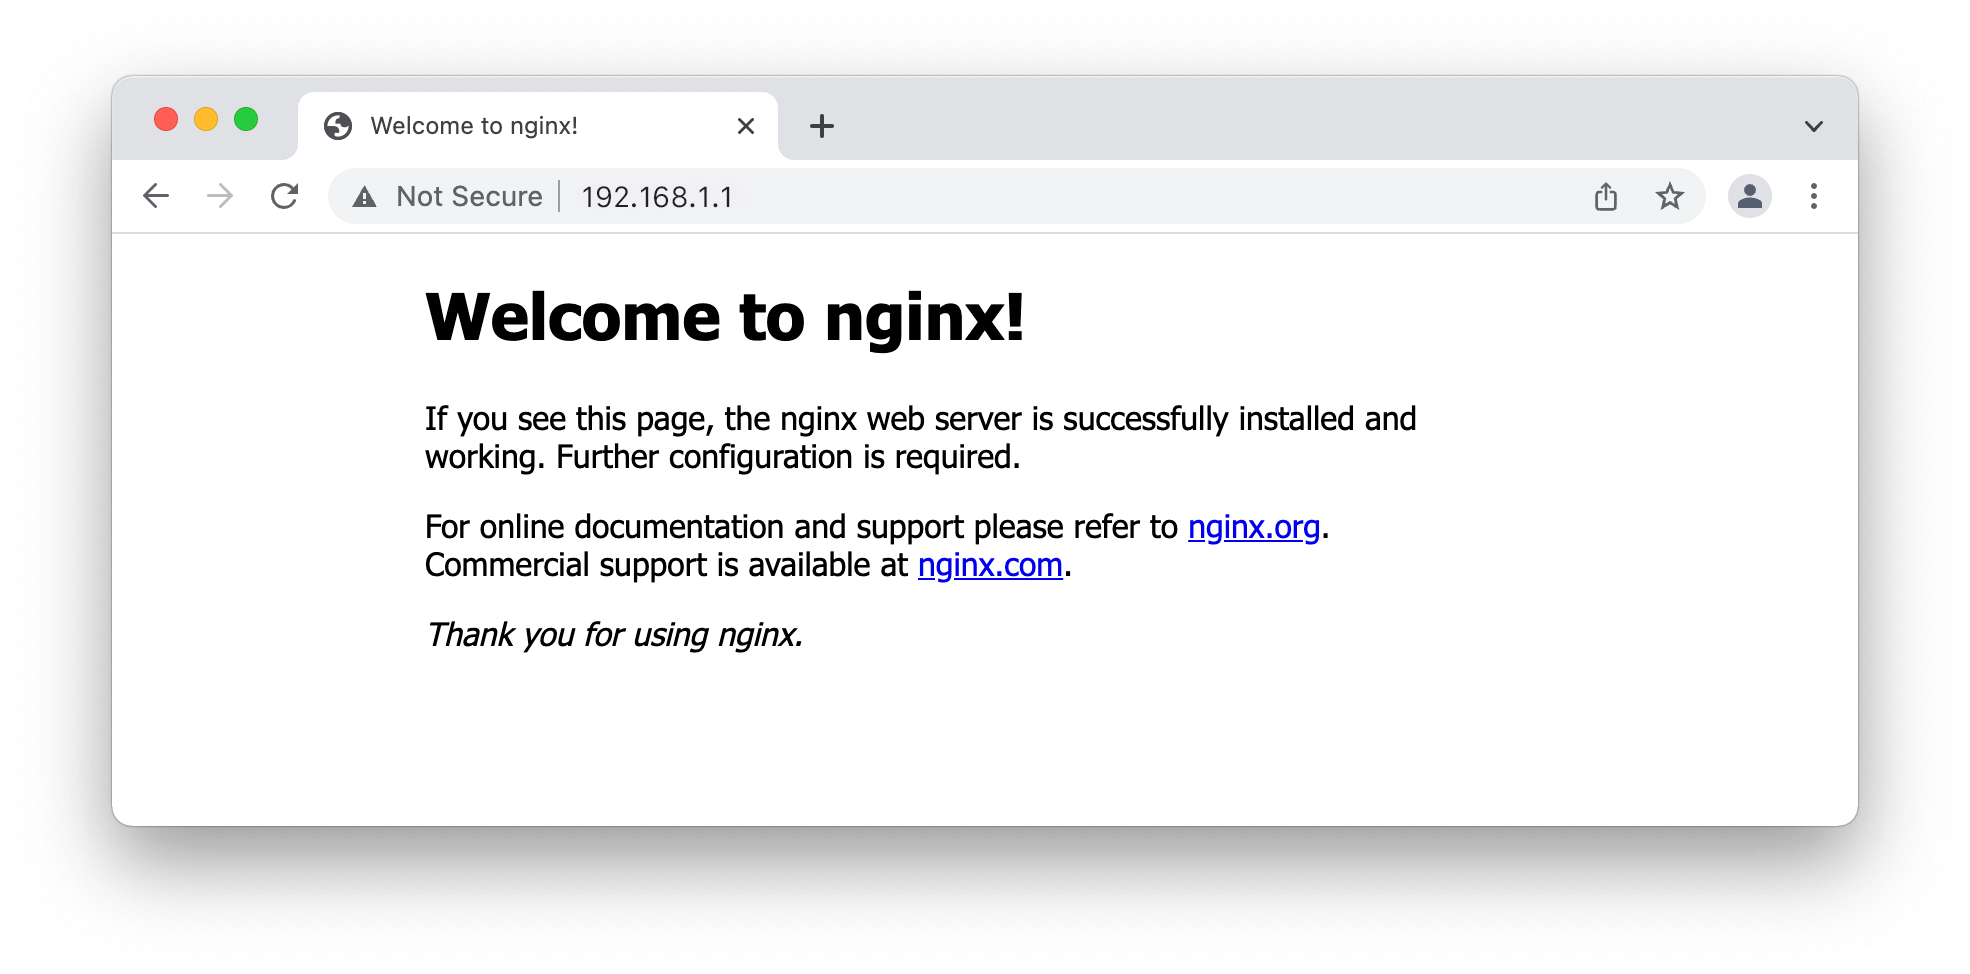
To verify that Nginx was installed correctly, open a web browser and type in the address bar http://server_ip_address.
If you do not know your server’s IP address, you can get it from the command line which should give you your public IP address as read from another location on the internet.
curl -4 icanhazip.com
After opening this URL you should see the default Ubuntu 20.04 Nginx web page as shown on the image below:

Setting up the Virtual Host Configuration File on Nginx
There will be a cases that you may want to host multiple websites on your Nginx web server.
First create the directory for your_domain as follows:
sudo mkdir /var/www/your_domain
Next, assign ownership of the directory with the $USER environment variable:
sudo chown -R $USER:$USER /var/www/your_domain
Create a separate virtual host configuration file under the /etc/nginx/sites-available directory for each domain you intend to host on your server.
sudo nano /etc/nginx/sites-available/your_domain.conf
The nano is a text editor in Ubuntu that will allow you to create/edit your configuration file. Add the following code to create your configuration of your virtual host.
server {
        listen 80;
        listen [::]:80;

        root /var/www/your_domain/html;
        index index.html index.htm index.nginx-debian.html;

        server_name your_domain.com www.your_domain.com;

        location / {
                try_files $uri $uri/ =404;
        }
}
Save and close using the CTRL + X combination, then press Y and confirm by pressing ENTER.
Now that we have our server block files, we need to enable them. We can do this by creating symbolic links from these files to the sites-enabled directory, which Nginx reads from during startup.
We can create these links by typing:
sudo ln -s /etc/nginx/sites-available/your_domain.com /etc/nginx/sites-enabled/
These files are now linked into the enabled directory. In order to avoid a possible hash bucket memory problem that can arise from adding additional server names, we will also adjust a single value within our /etc/nginx/nginx.conf file. Open the file now:
sudo nano /etc/nginx/nginx.conf
Within the file, find the server_names_hash_bucket_size directive. Remove the # symbol to uncomment the line:
http {
    . . .

    server_names_hash_bucket_size 64;

    . . .
}
Save and close the file when you are finished.
Next, test to make sure that there are no syntax errors in any of your Nginx files:
sudo nginx -t
If no problems were found, restart Nginx to enable your changes:
sudo systemctl restart nginx
Nginx should now be serving both of your domain names. That should do it!
Note: Nginx Web Server Configuration
By default, Nginx stores different configuration and log files in the following locations:
- /var/www/html – Website content as seen by visitors.
- /etc/nginx – Location of the main Nginx application files.
- /etc/nginx/nginx.conf – The main Nginx configuration file.
- /etc/nginx/sites-available – List of all websites configured through Nginx.
- /etc/nginx/sites-enabled – List of websites actively being served by Nginx.
- /var/log/nginx/access.log – Access logs tracking every request to your server.
- /var/log/ngins/error.log – A log of any errors generated in Nginx.
Nginx Configuration for Performance
Get the most out of your NGINX server by configuring it for the best possible performance.
http {
    . . .

        ##
	# NGINX Performance Tuning Configs
	##
	client_body_buffer_size 80k;
	client_max_body_size 9m;
	client_header_buffer_size 1k;
	client_body_timeout 10;
	client_header_timeout 10;
	keepalive_timeout 30;
	send_timeout 2;
	open_file_cache max=1024 inactive=10s;
	open_file_cache_valid 60s;
	open_file_cache_min_uses 2;
	open_file_cache_errors on;

    . . .
}